Twitch Installation
If you want to play on the MineColonies Official 1.14.4 Server, we highly recommend using Twitch to always be up to date with all the mods we use in our official server.
- Click on the text below the Twitch logo to download the Twitch client. On that page, select download for PC or MAC and begin your download.
Download the Twitch client here!
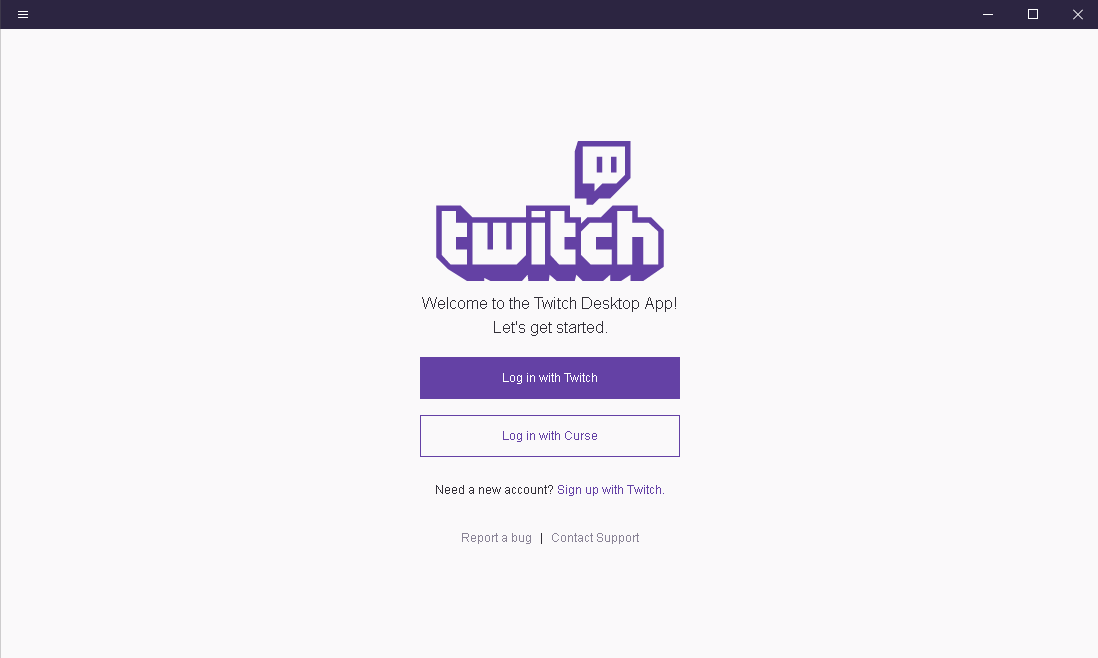
- Once you have downloaded the Twitch client, run the installation and login to the Twitch client.
Sign up to Twitch if you haven’t yet, or convert your old Curse account to a Twitch account.
Installation of the Modpack through the Twitch Client
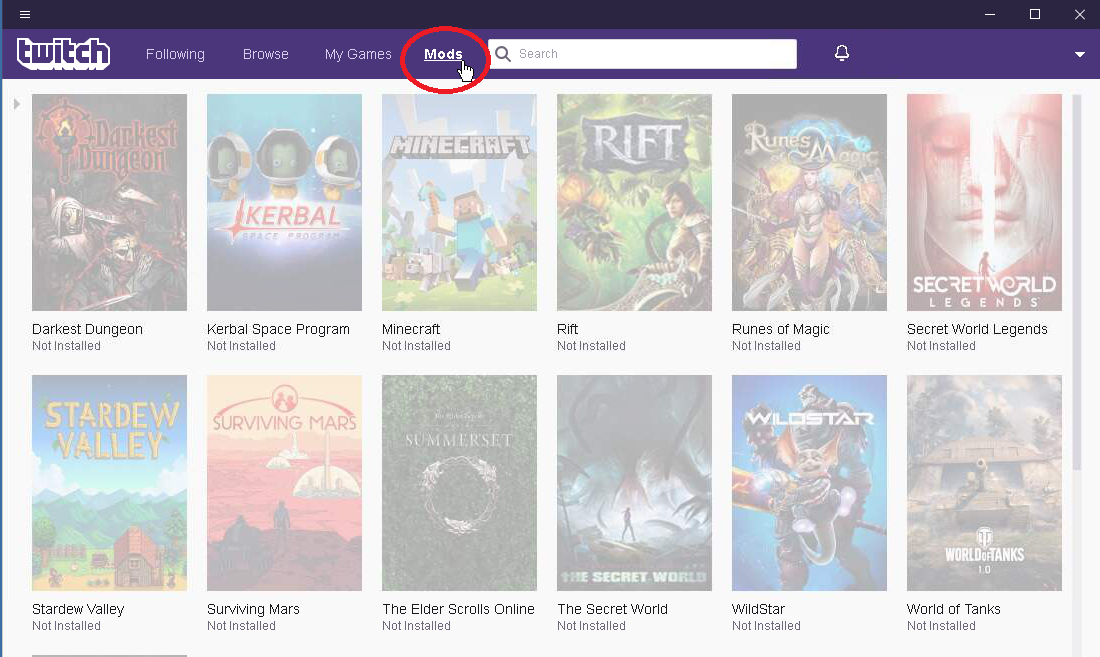
Navigate to Mods
On the top bar of the Launcher, look for the tab called Mods. Click on it and then select Minecraft.
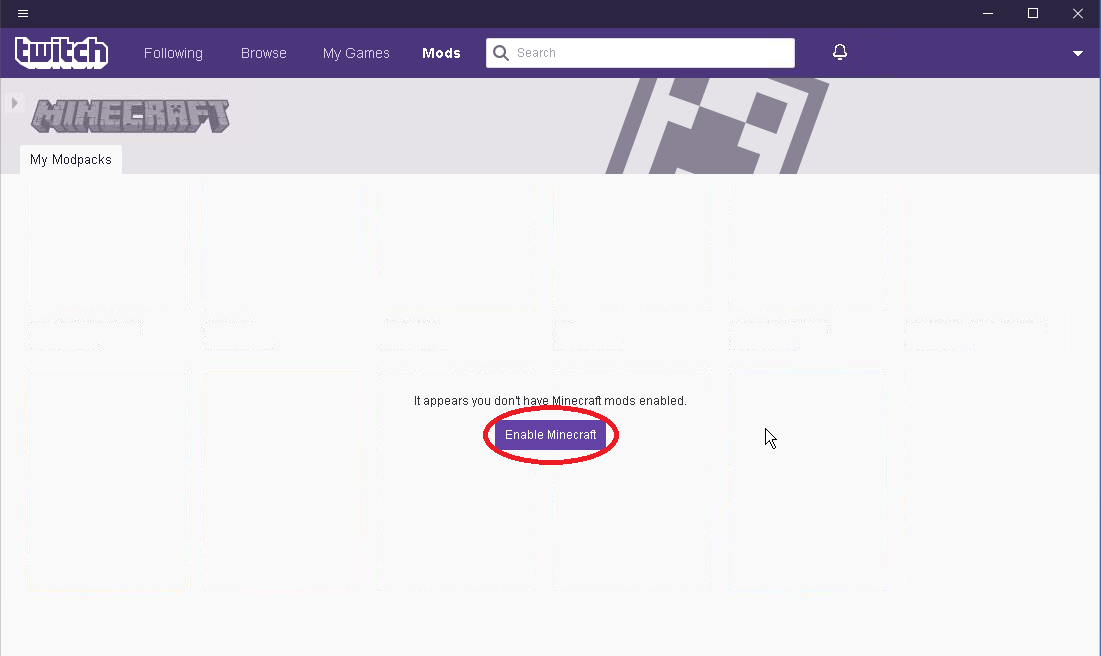
Enable Minecraft
The Twitch client will prompt you to “Enable Minecraft”, which will restart the launcher.
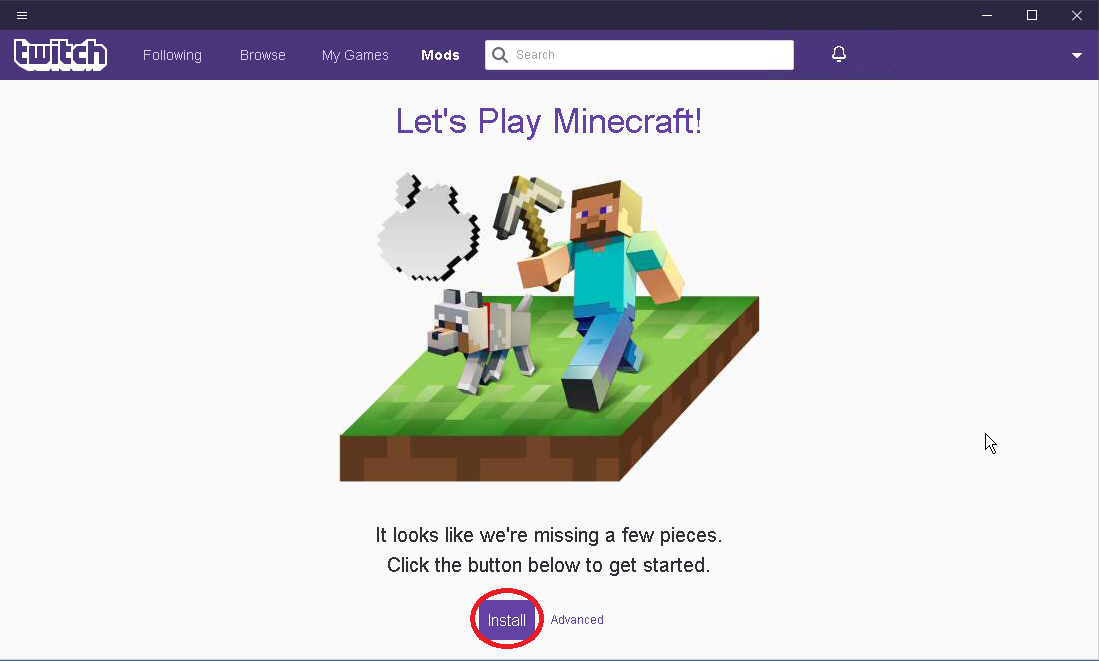
Install Minecraft
Click on the Install button. Use the Advanced option if you want to select another location for the installation folder. The default folder is C:/Users/(your user)/Documents/Curse/Minecraft.
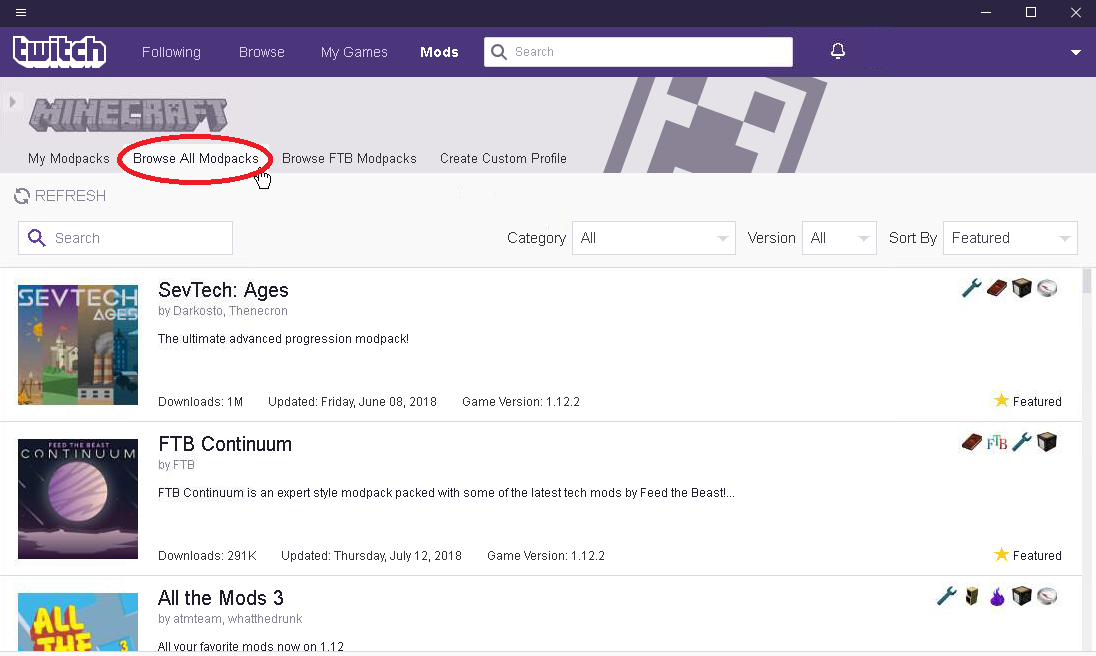
Browse Modpacks
After the installation is done, select Browse all Modpacks.
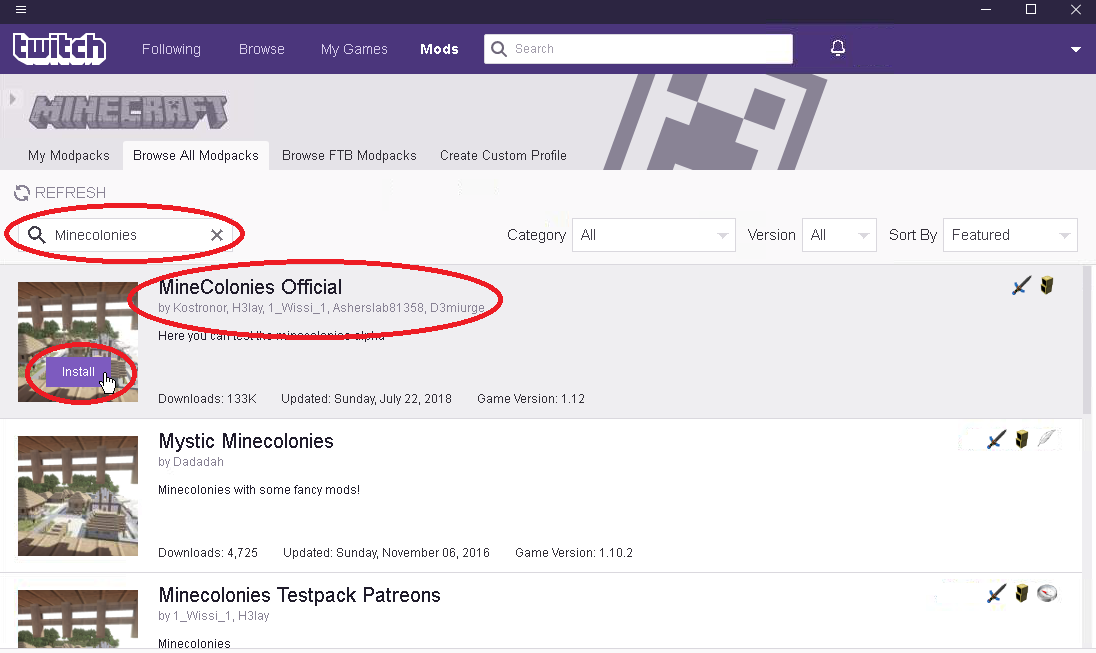
Search for MineColonies Pack
Type in the search bar “MineColonies.” Once you see “MineColonies Official” (by Kostronor, H3lay, 1_Wissi_1. Asherslab81358, D3miurge), click on “Install”.
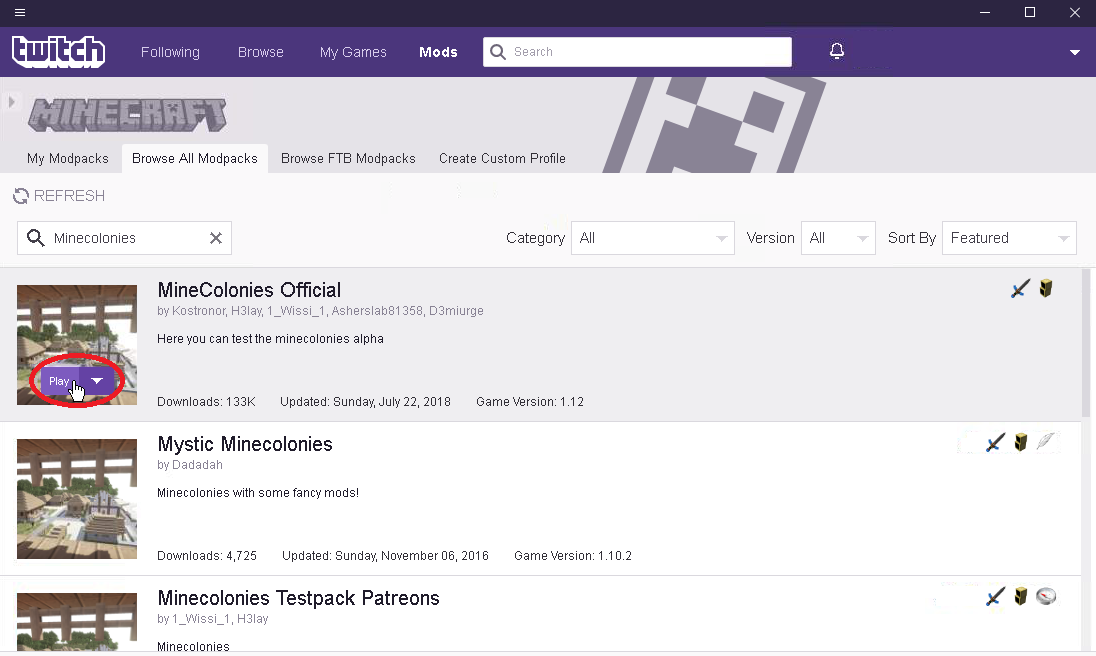
Launch Profile
Once the installation is finished downloading all the mods, click on PLAY.
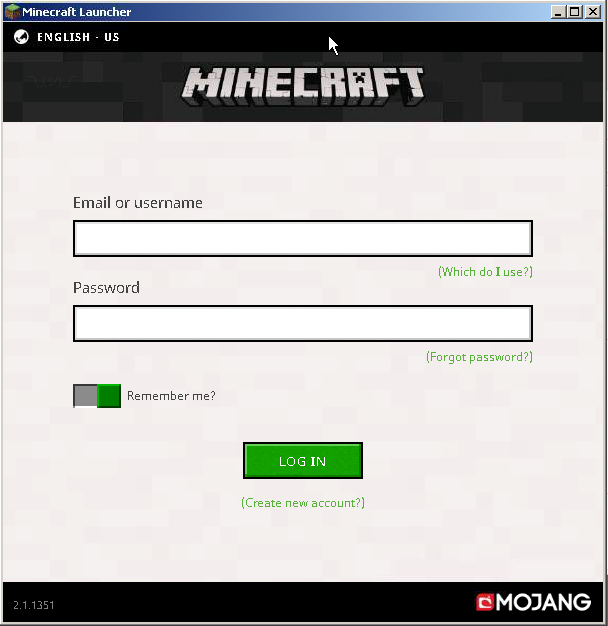
Login
Login to your Minecraft account.
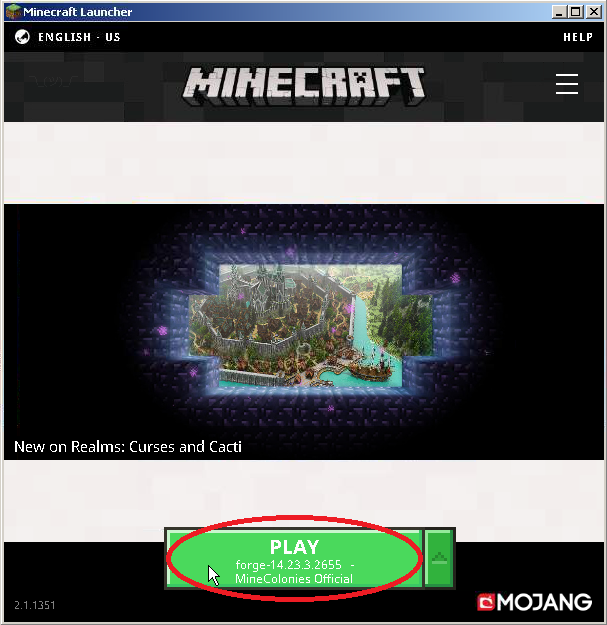
Click Play in Minecraft Launcher
Click the green play button if it’s already set to “MineColonies Official”. If not, then a couple substeps are needed.
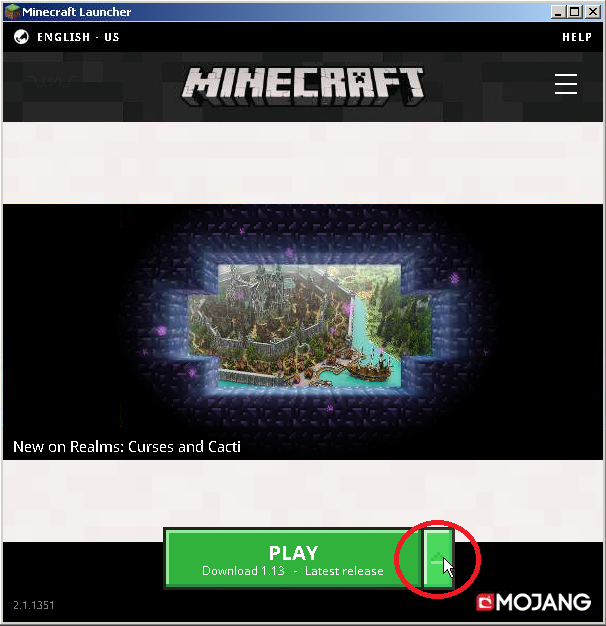
Open Profiles List
Click the green arrow (pointing up) to select your profile.
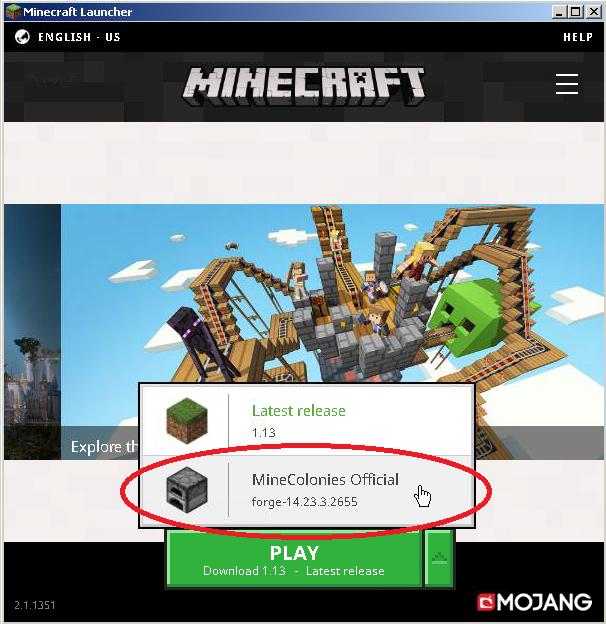
Select MineColonies
Click the “MineColonies Official” profile. Then you’re ready to click Play!
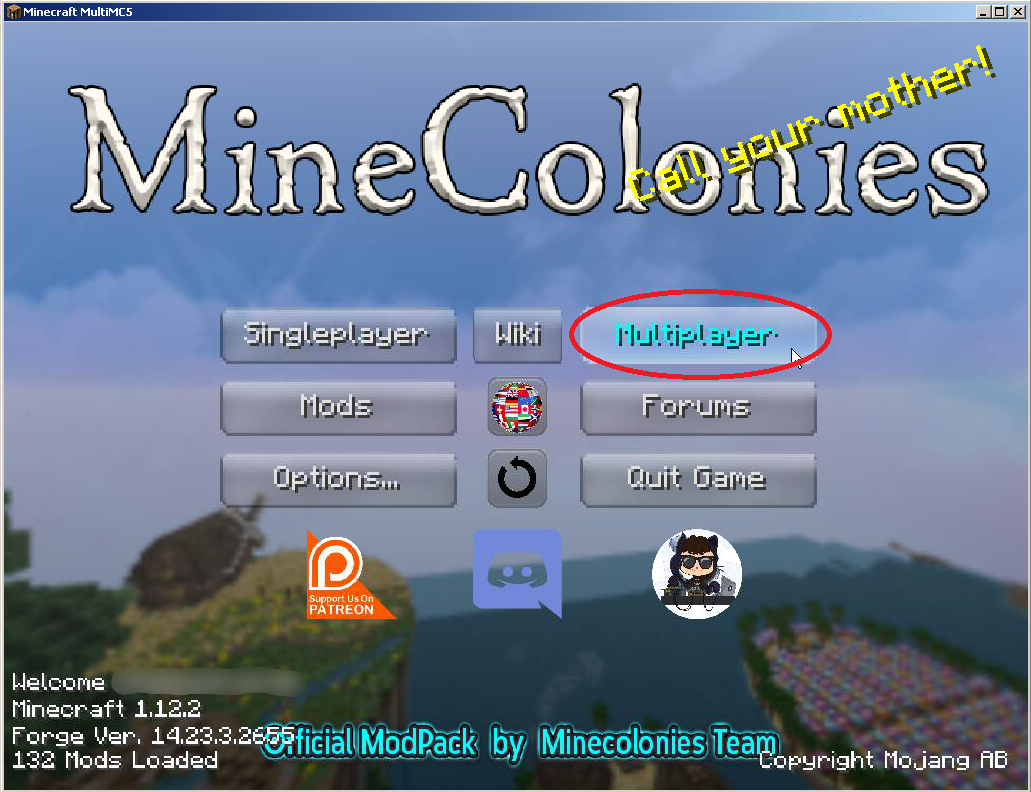
Select Multiplayer
When Minecraft has loaded up, click on the Multiplayer button.
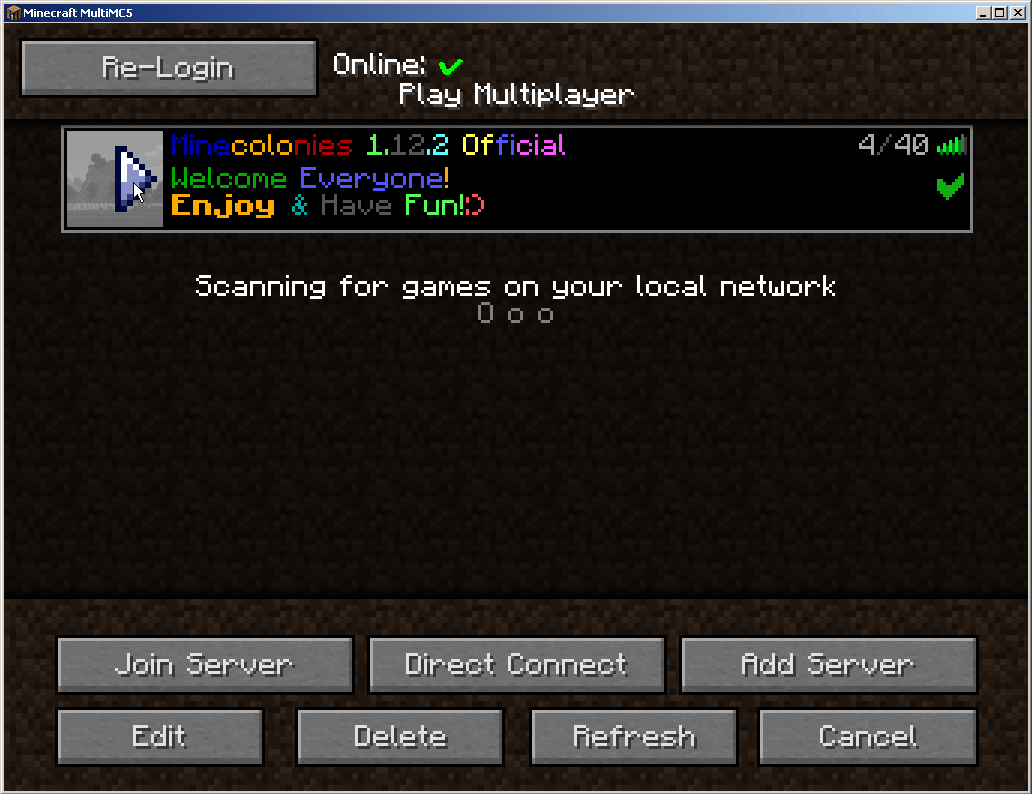
Select our Server
Finally, click on MineColonies Official 1.14.4! The server info will be set up already.
That’s it! Good luck, have fun. See you in the server.